


 Years ago I was at a party and someone served butter cookies that looked like candy corn. I thought they were darling. I’ve been meaning to try to figure out how it was done for years, and yesterday was the day!
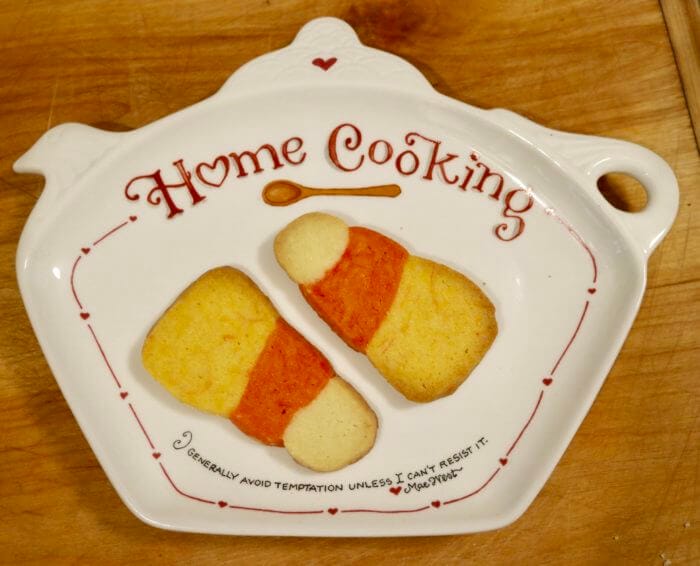
They didn’t turn out quite perfect, shape-wise, but still cute, and they tasted delicious . . . I did learn how . . . so I’ll show you and you can do better!
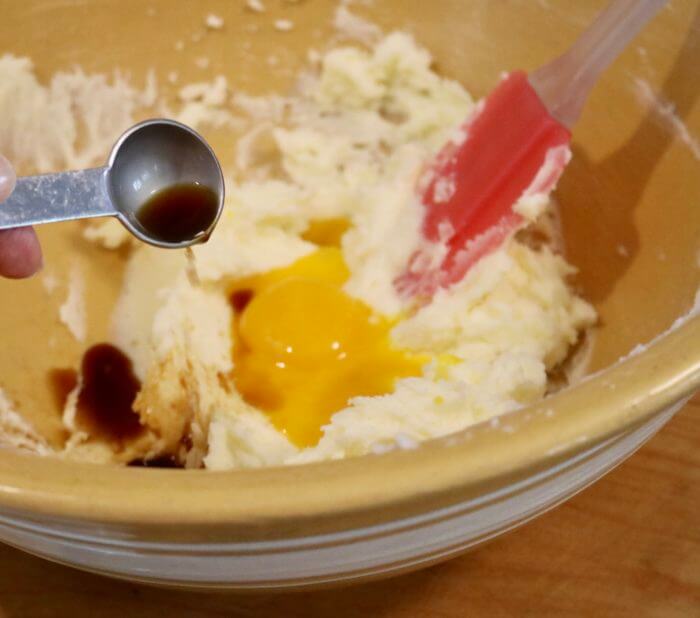
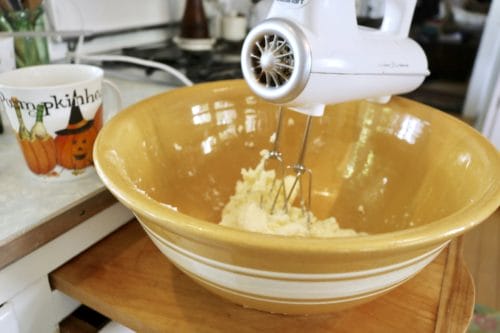
I used my recipe for Butter Cookies (Annie Hall’s) in my Christmas Book on p. 82 (for you that have that book ~ but I’ll also put the recipe at the end of this post). First, with a hand mixer, cream the butter and sugar together, then beat in the egg yolks and vanilla . . . so easy!
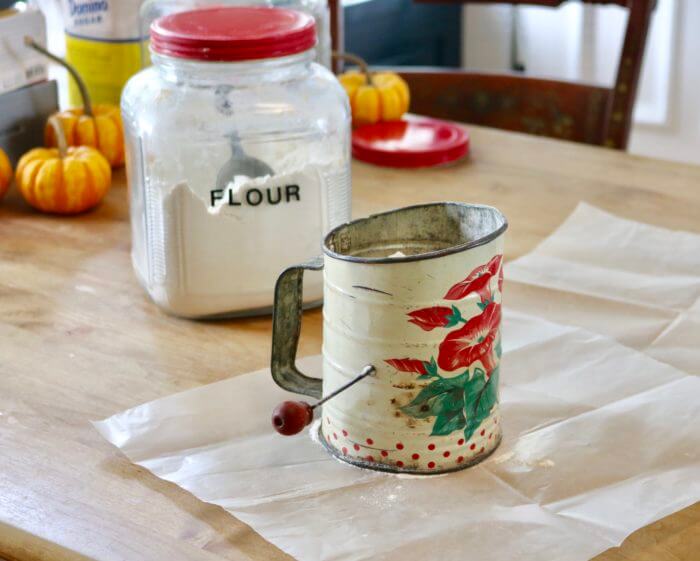
Sift the flour and salt together (you see my mother’s daughter here in the folded pieces of wax paper . . . she always used them at least twice, folded them up and saved them for the next time ~ so me too). Like our New England grandmothers said, “Make do, or do without.”

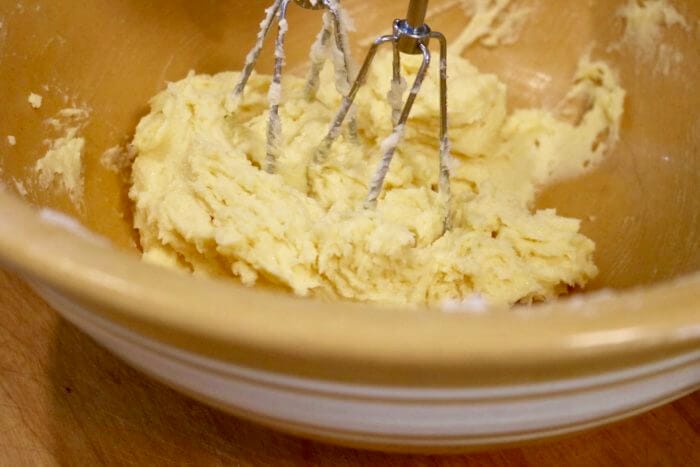
Then beat the flour into the butter . . .
You want to just bring the dough together (with your hands if necessary), because there’s extra mixing when you add the food coloring . . . But first divide the dough in half, then divide the other half into one-third and two-thirds pieces ~ so you have small, medium, and large chunks of dough. Set them aside.
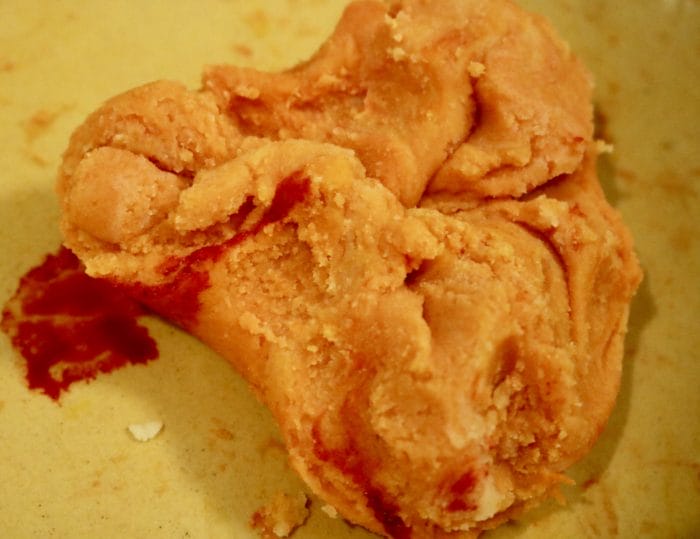
I was so enthralled with this part I almost forgot to take pictures, but with a combination of mixer and kneading, you add the food coloring. You add more than you think because baking softens the color and you want it strong, keep putting drops of coloring in until you get it right (start with at least 8 drops of each color), mix dough only as much as you have to. The largest piece should be nice bright yellow. The two-thirds piece will be orange (as in photo above, mixture of red and yellow coloring), and the smallest will remain “white” or dough-colored.

You’re basically looking for this.
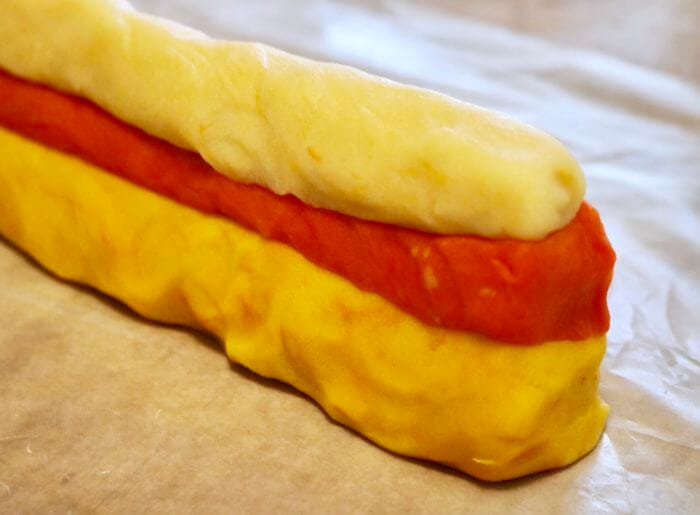
Once colored, lay out a piece of clean wax paper, roll the pieces between your hands into 10″ rolls, all three the same length. Put the yellow on the bottom, the orange on top of the yellow, the plain on top of that.
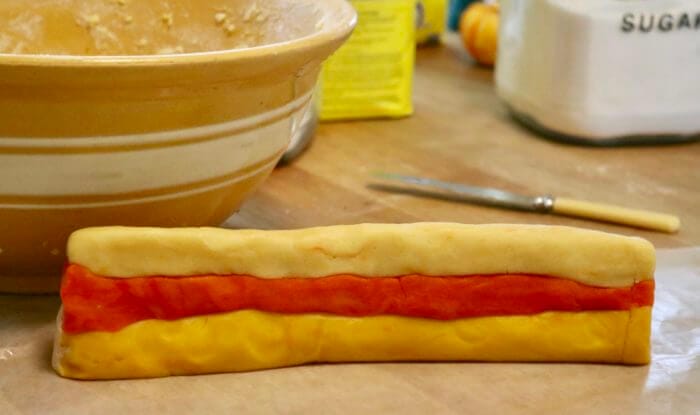
So it’s like this. You can gauge your colors from this photo . . . very bright when raw, but kinda perfect when cooked.
Then you mold your shape. Here’s where I would have made changes, while the dough was still nice and soft, I would have smoothed the seams a bit, and widened the bottom by pushing down on the top a little more.
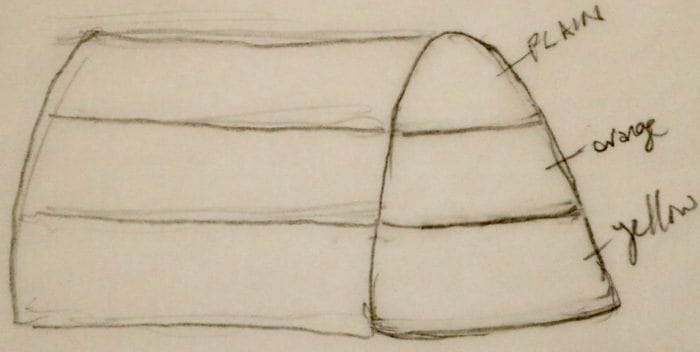
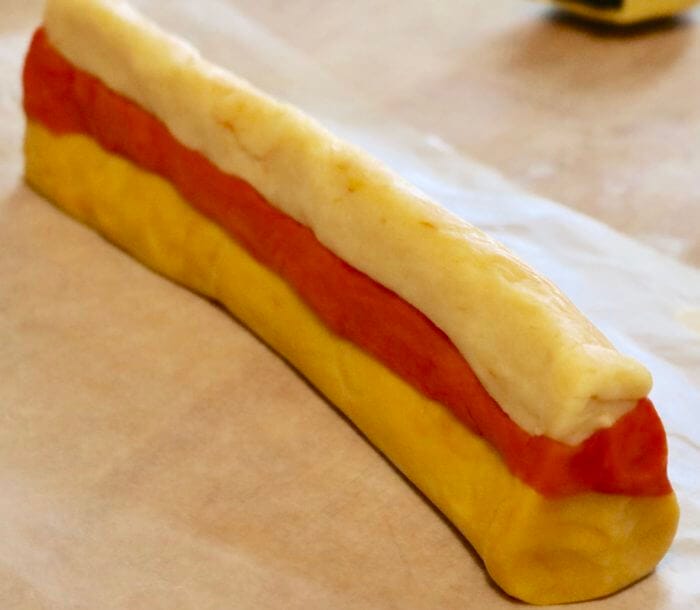
It does NOT have to be perfect for cuteness, but afterwards, I drew the  shape you should aim for . . . the cookies don’t change shape much while baking, so what you see is what you get. Once you get your rolls pushed into shape, wrap the dough in waxed paper and put it in the fridge for 4 hours or overnight. When ready, preheat oven to 350º and slice off the end of the roll for as many cookies as you wish to make. Place them on an UN-greased cookie sheet, bake 10-12 minutes, but do not brown the bottoms.

Mine, all chilled, and ready to go in. And because they are now so cold and firm, it’s not a good time to attempt changing the shape.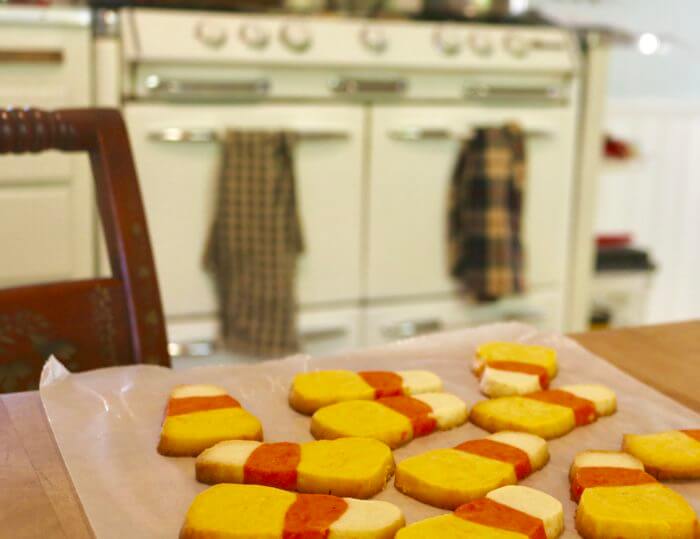
Here they are cooling on our kitchen table, and if I do say myself, DELICIOUS. Took them to movie night at Lowely and John’s last night and they loved them too.
But you can do a better job of shaping, and I will too, next time! Living and learning.😘
![]()
CANDY CORN BUTTER COOKIES
 2 c. butter, softened
- 1 1/2 c. sugar
- 4 egg yolks
- 2 tsp. vanilla
- 4 1/2 c. flour
- 1/2 tsp. salt
- Yellow and red food coloring
 2 c. butter, softened
 With an electric mixer, cream together butter and sugar. Add egg yolks and vanilla and mix well. Sift flour and salt together and beat into butter mixture until mixed. Use your fingers to gather the dough into a ball. Divide dough in half, then divide one of the halves into 1/3 and 2/3 pieces.
  You’ll have 3 hunks of dough, small, medium, and large. Poke holes in the large piece, and put in drops of yellow food coloring, at least 8 drops to start. Break the dough up a bit in the bowl and use mixer to spread the strong color evenly. Make a ball. Do the same with the medium size piece ~ use yellow and red to make a good strong orange. Leave the smallest piece natural. Because I halved the recipe, I made each color of dough into a 10″ roll, but if you make the whole recipe, you’ll need to make two sets of 10″ rolls (otherwise they’ll be so long they won’t fit in the fridge). Put the orange roll on top of the yellow roll, the white on top of the yellow. Look at the
  drawing I did. You’ll see you need to mold the sides in so it’s wider on the bottom, narrower on the top, top should be rounded. You can do this! It’s fun! Wrap it up, put it in the fridge for 4 hours, or overnight. When ready to bake, preheat oven to 350º … cut the dough into 1/2″ slices, put them on ungreased cookie sheet, about 1″ apart. Bake 10 min, but don’t brown them. Remove baked cookies from pan while still warm and cool, onto sheets of waxed paper. Ta daah! (And don’t forget, same recipe works for all your cookie cutter recipes!)