


You Will Need:
- A paper cutter or pair of scissors
- Paper of your choice (If you don’t have a “Susan Branch Scrapbooking Paper Stash”, click here for a link to a few pretty ones you can print out and use for this project.)
- Glue (We used a glue stick, but any good paper adhesive will work.)
- A bone folder (optional)

Step 1. Cut your paper down to 2 x 2 inch squares. The number of squares depends on your head circumference. (Start with about 30.) It’s best to cut a few more than you need just to be on the safe side.
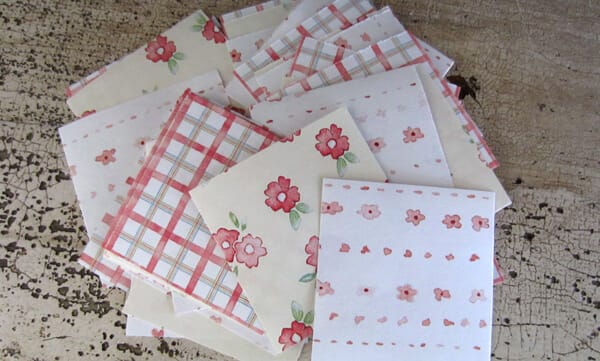
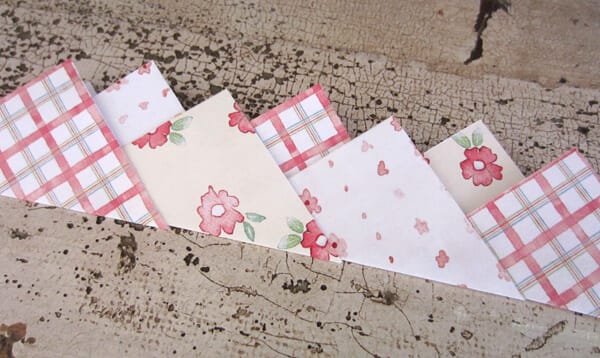
Step 2. Fold your paper diagonally (from point to point), in order to make a triangle. Use a bone folder or the edge of a credit card to make a clean crease.

Step 3. Add a small amount of glue to one of the bottom edges of your folded paper pieces.
Step 4. Then, insert the glued end inside another paper piece. The glue should only be on one side of the folded piece.

Step 5. Repeat step 4, occasionally measuring it around your head to determine the proper size. Stop adding more pieces when you reach the size that you are comfortable with.
Step 6. This completes the first layer of your crown. If you would like to add more pieces to your regal headpiece, you can do so by first adding glue to two of the bottom points of one of your paper pieces.
Step 7. Open your folded crown, then insert the glued piece between two of your previously glued paper pieces.
Step 8. Use your bone folder or credit card to smooth out any air bubbles and to make a better crease.
Step 9. To close your crown, wrap it around your head and determine the most comfortable end point. Mark that point with a pencil.
Step 10. Apply glue to the end of your paper crown piece, then insert it into the beginning.

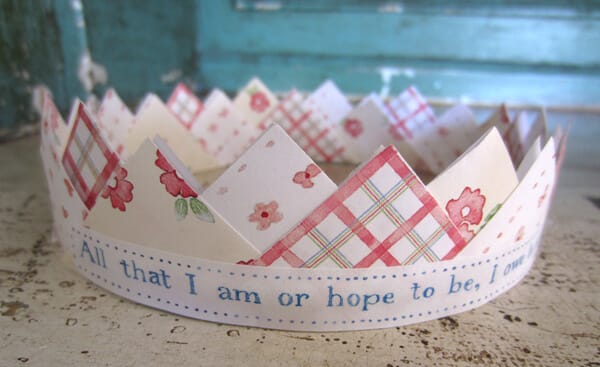
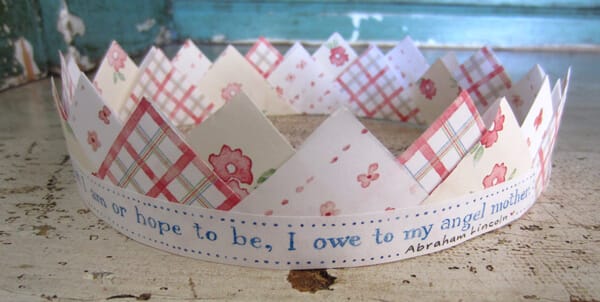
Step 11. If you want to add the extra quote to the crown, Cut and glue it on as shown here.
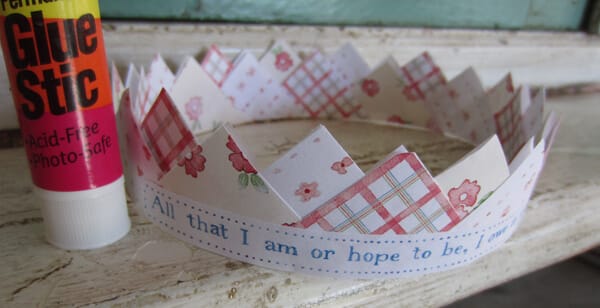
Step 12. Voilà! Your crown is now complete. You may need to gently bend your paper to make more of a circular shape and to remove some of the paper fold marks.